Your garage floor takes a beating: from hot tyres and oil drips to dropped tools, heavy storage and movement of cars, bikes and people. And with many garages doubling as workshops, home gyms or storage areas, the right floor finish makes all the difference.
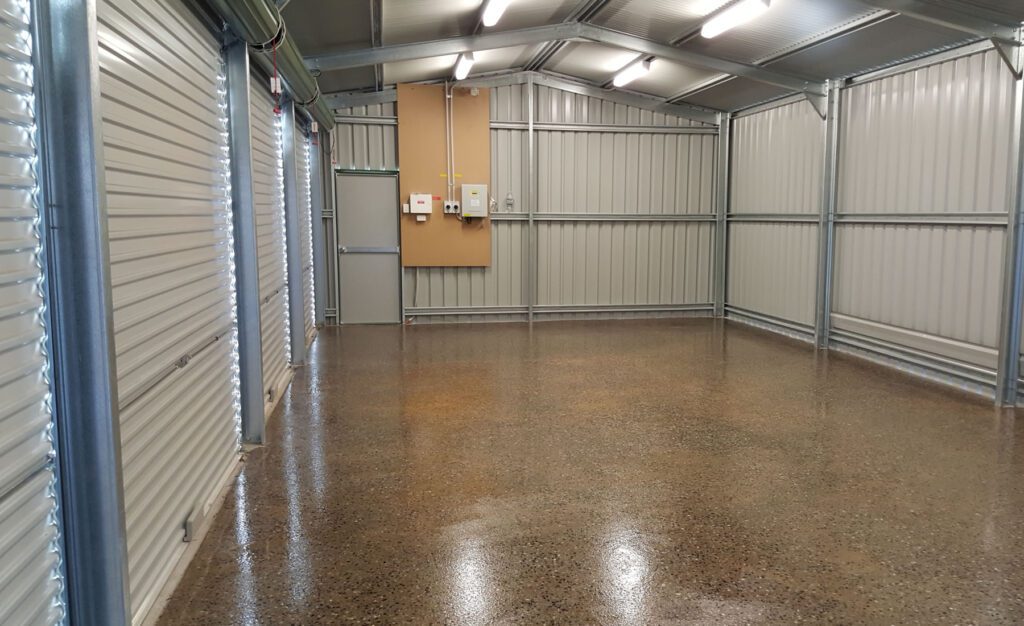
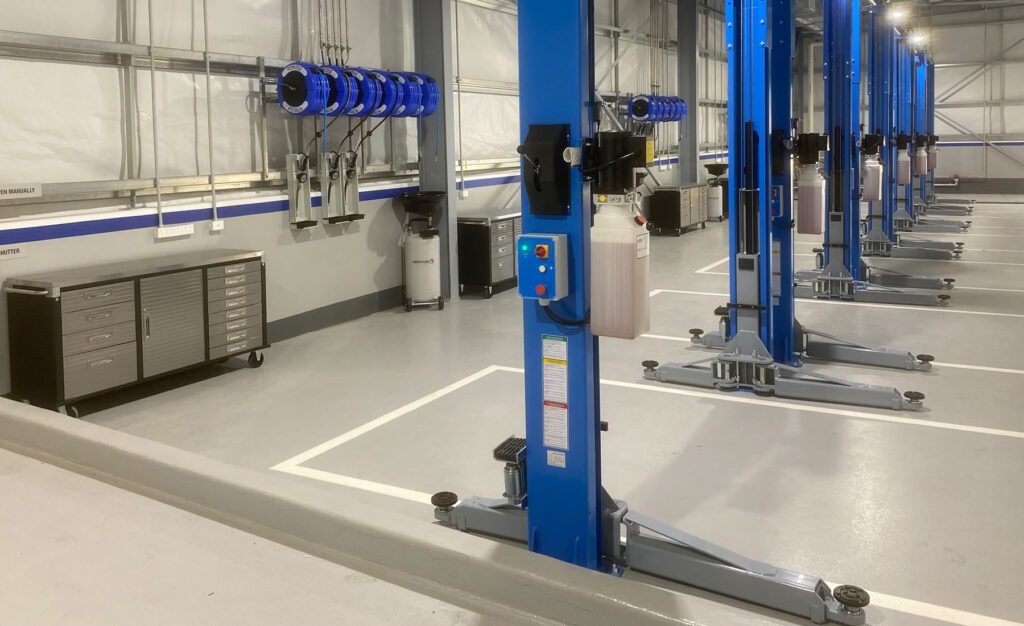
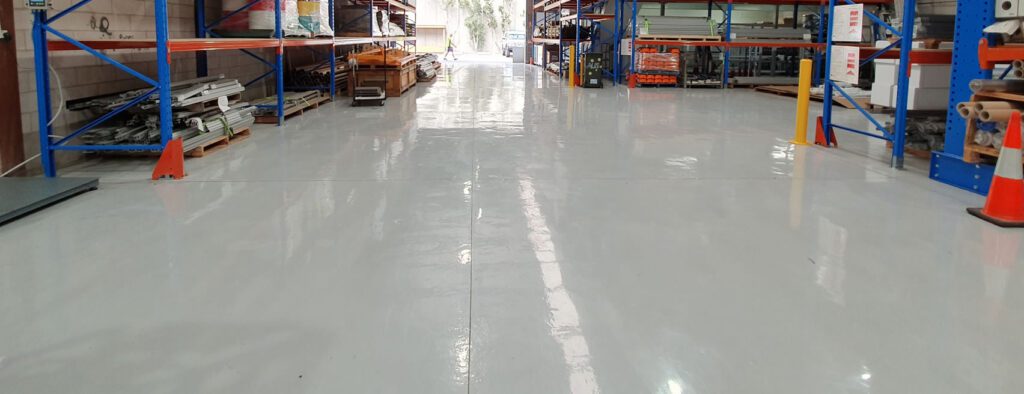
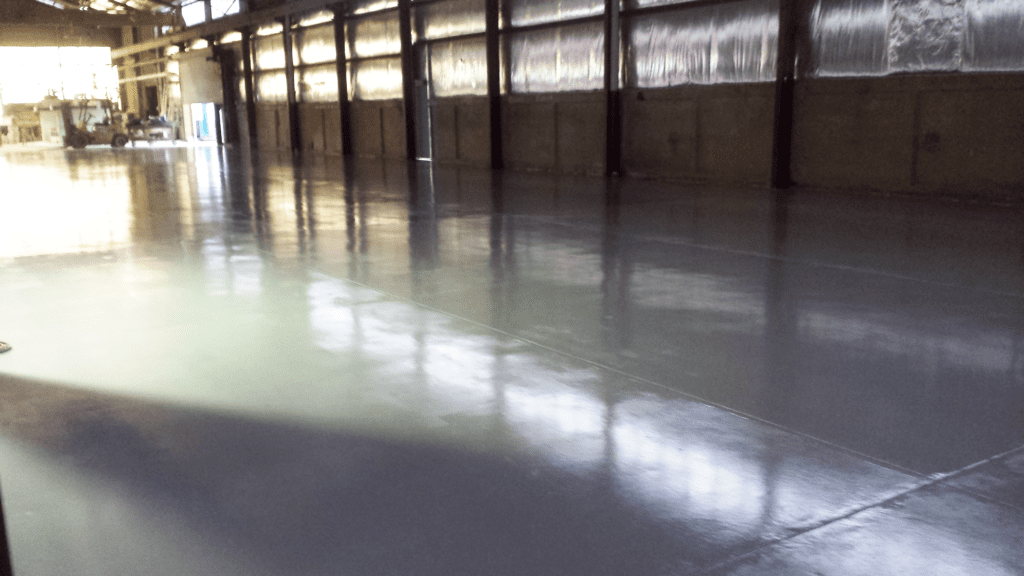
That’s why more people are turning to professional-grade epoxy flooring for durability, safety, style and low maintenance. Flooring solutions like those completed for Dutton One Brookvale—applied by Manly Flooring (see image above)—demonstrate the premium finish and long-lasting performance epoxy systems can deliver. And top quality doesn’t mean complex. Megapoxy formulations are designed for straightforward applications, backed by clear instructions and step-by-step videos. And because they are trusted in commercial and industrial environments everywhere, you can be confident they’ll stand up to the demands of your garage or workshop too.
Why epoxy flooring?
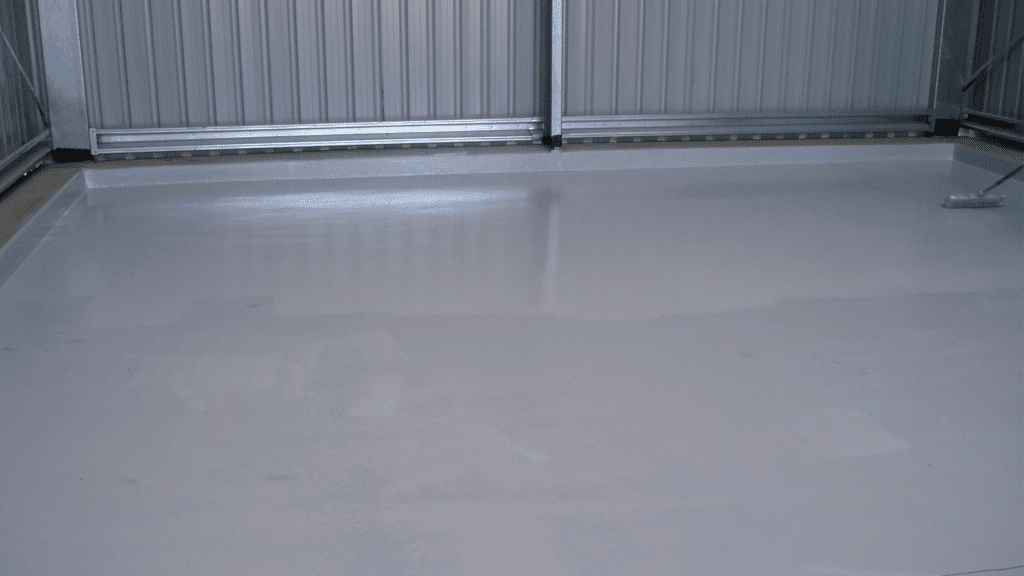
Built for demanding spaces, epoxy flooring creates smooth, non-porous surfaces that repel stains and dust buildup. They’re easy to clean with minimal upkeep. With options for added grip, gloss and colour, they deliver serious durability while improving the look of your space.
A snapshot: epoxy flooring coating options
Here’s a quick guide to coating solutions that stand the test of time.
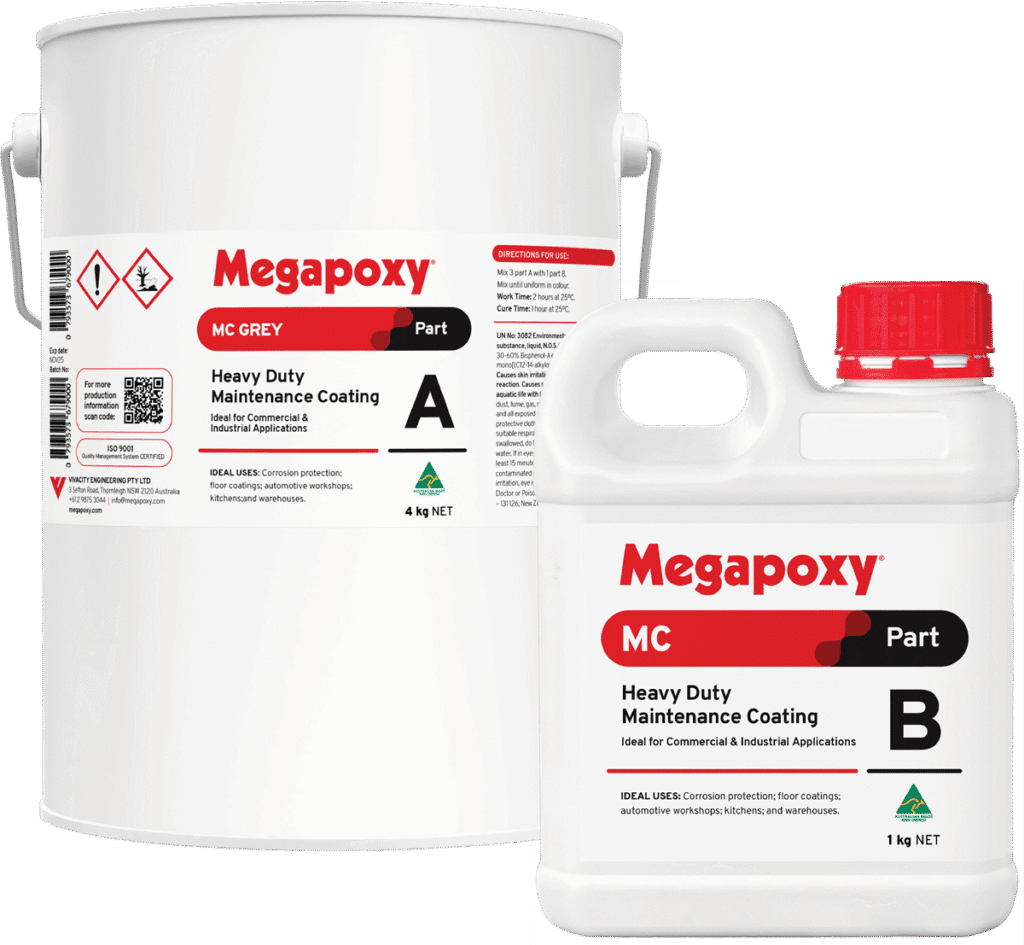
A heavy-duty coating with exceptional resistance to chemicals, impacts and scrapes. Ideal for busy garages that double as workshops or tool sheds.
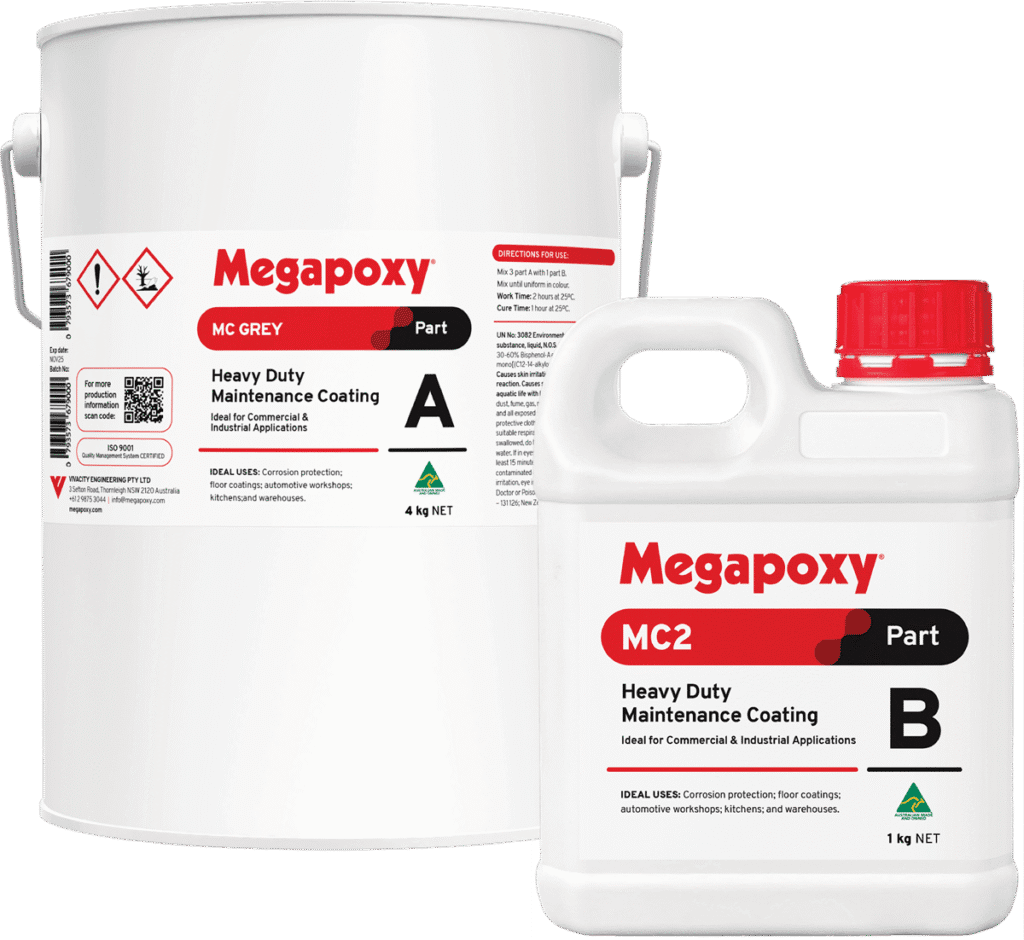
Built on the same toughness as MC, but cures faster. Perfect when you want minimal downtime before using your garage again. Great for high-traffic, multi-use spaces.
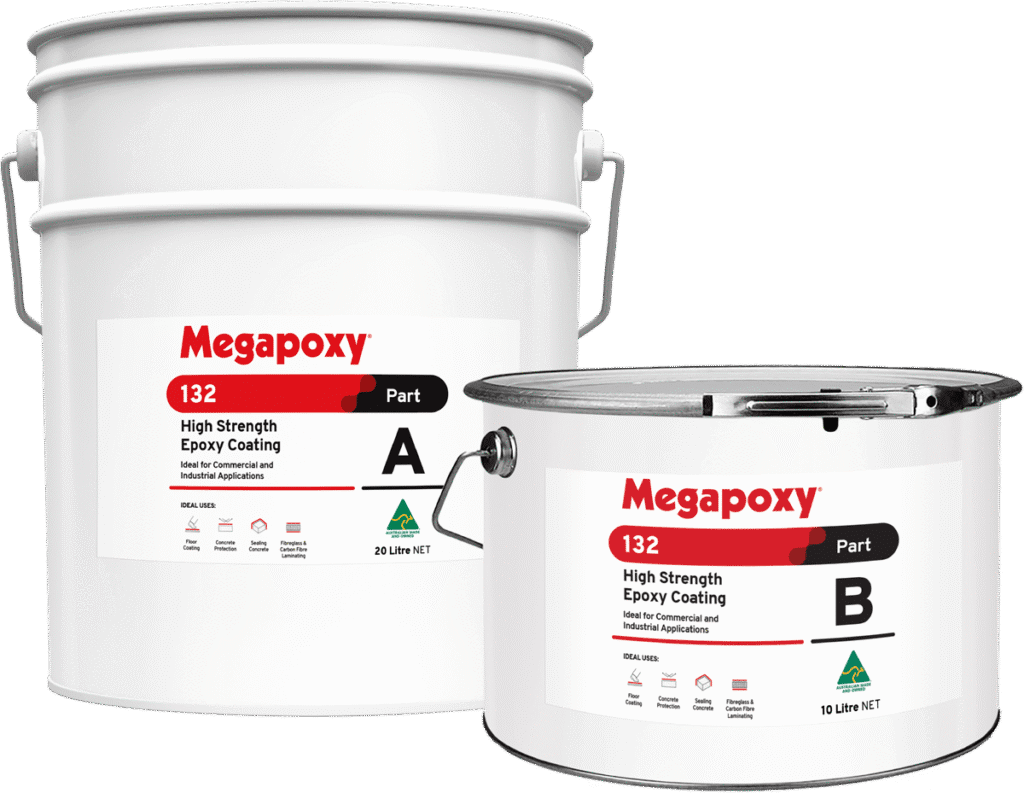
A high-gloss, abrasion-resistant coating. Gives your garage a clean, polished look that feels more like an extension of your home. Easy to maintain and available with coloured pigment for a stylish finish.
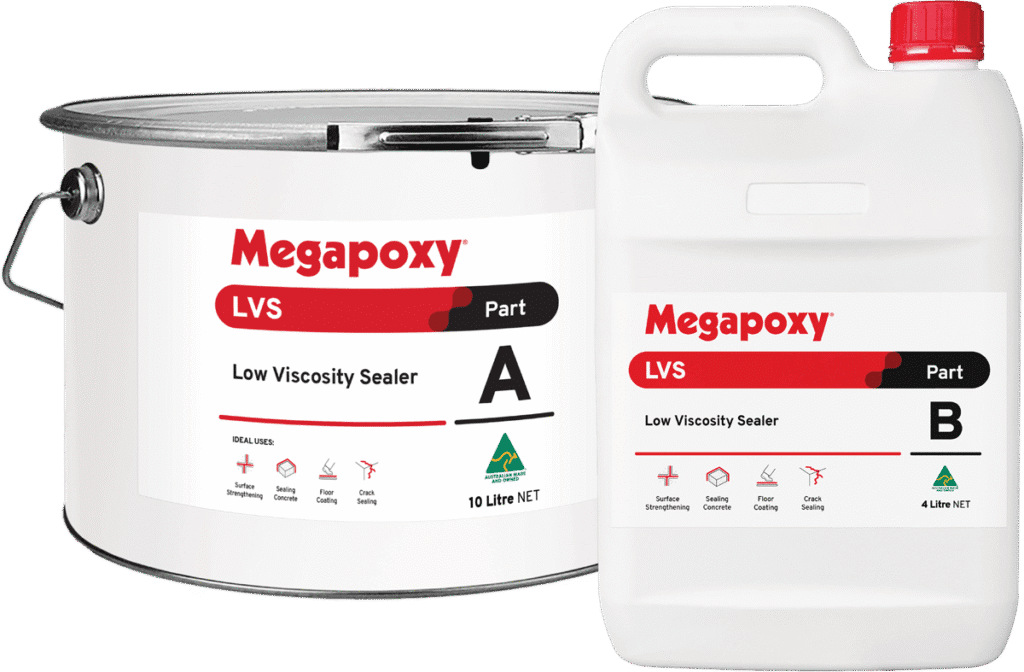
While most often used as a primer, LVS can also be applied on its own to harden and seal concrete – ideal if you want a tough, dust-proof surface without a thick film.
Step by step: in a nutshell
Step 1: Prepare your surface
Good preparation is the foundation of epoxy flooring that lasts.
- Degrease and remove any old paint, coatings or sealers.
- Grind the concrete until you reach a fresh, even finish with a light texture (similar to fine sandpaper, known in industry terms as CSP-2).
- Vacuum thoroughly to remove all dust.
Step 2: Prime the concrete
Use Megapoxy LVS primer to seal and strengthen the concrete – and ensure maximum adhesion.
Step 3: Apply the epoxy flooring coating
- Mix the epoxy thoroughly, following the relevant instructions – our Technical Data Sheets (TDS) have all you need.
- Apply the first coat evenly with a fresh roller.
- For added safety, you can broadcast silica sand into the wet coat for a non-slip finish, then sweep up the excess before recoating.
- Apply a second coat for maximum durability (always without thinners).
TIP: Use a fresh roller for each coat to avoid contamination and get a smoother finish.
Step 4: Allow it to cure
- Light foot traffic is usually possible after 24 hours.
- Cure times vary with temperature and product: check the TDS before driving on the surface.
Common mistakes to avoid
Let your flooring reach its full potential by avoiding these pitfalls.
- Incorrect ratios: Always check Part A : Part B ratios on the TDS and measure accurately.
- Not enough hardener: Using less hardener (Part B) than specified prevents proper curing, leaving the surface soft or tacky.
- Incomplete mixing: Mix for the recommended time, and remember to scrape the container sides and bottom.
- Poor surface prep: Leaving behind previous coatings, grease or dust will affect the end result.
Maintenance and aftercare
Megapoxy coatings are designed to stay tough, hygienic and easy to clean – with minimal effort.
- Vacuum or sweep regularly to remove dust and loose material.
- Clean up oil or chemical spills promptly to protect the surface.
- Use mild, non-abrasive cleaners and avoid harsh solvents or acids.
- Allow full curing before use: light foot traffic after 24 hours, and follow product guidelines before driving on it.
- If needed, recoat or seal to maintain protection and finish over time.
A garage floor built to last
With Megapoxy epoxy flooring, you’re not just improving the look of your garage. You’re protecting it against stains, impact and wear, while making the space more useful (and possibly increasing property value). Whether you want a tough, workshop-ready floor or a sleek, polished extension of your home, Megapoxy makes it easier to achieve a professional result.
Want to explore further?
Visit our Flooring Application page for more information, download our Flooring Guide for step-by-step technical guidance, or browse real projects to see epoxy flooring in action. For specific project advice, local support is just a phone call away.