Timeless Solutions
Natural stone demands solutions that combine lasting strength with architectural beauty. From sandstone facades to marble benchtops, Megapoxy delivers confidence with every bond.
Surface Preparation for Bonding
Success starts at the surface. Ensure substrates are dry, clean and structurally sound to set the foundation for long-term performance.

Clean, dry and strong
Remove all coatings, grease, dust or moisture before bonding.

Abrade bonding areas
Lightly scabble surfaces using a grinder with diamond wheel.

Reinforce weak walls
Use pins or anchors when bonding to hollow or deteriorated substrates.

Blow out drilled holes
Clean all fixings with compressed air before applying epoxy.
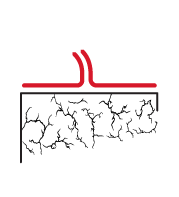
Stabilise fragile stone
Use Megapoxy H or HX to seal porous stone or fill fine cracks before bonding.
You’ll need
- Grinder with diamond wheel or crack chasing blade.
- Mixing paddle.
- Flat, hard board.
- Spatulas or scrapers.
- Megapoxy thinners.
- Disposable rags.
- PPE: gloves, eyewear, clothing.

Getting it right from the start
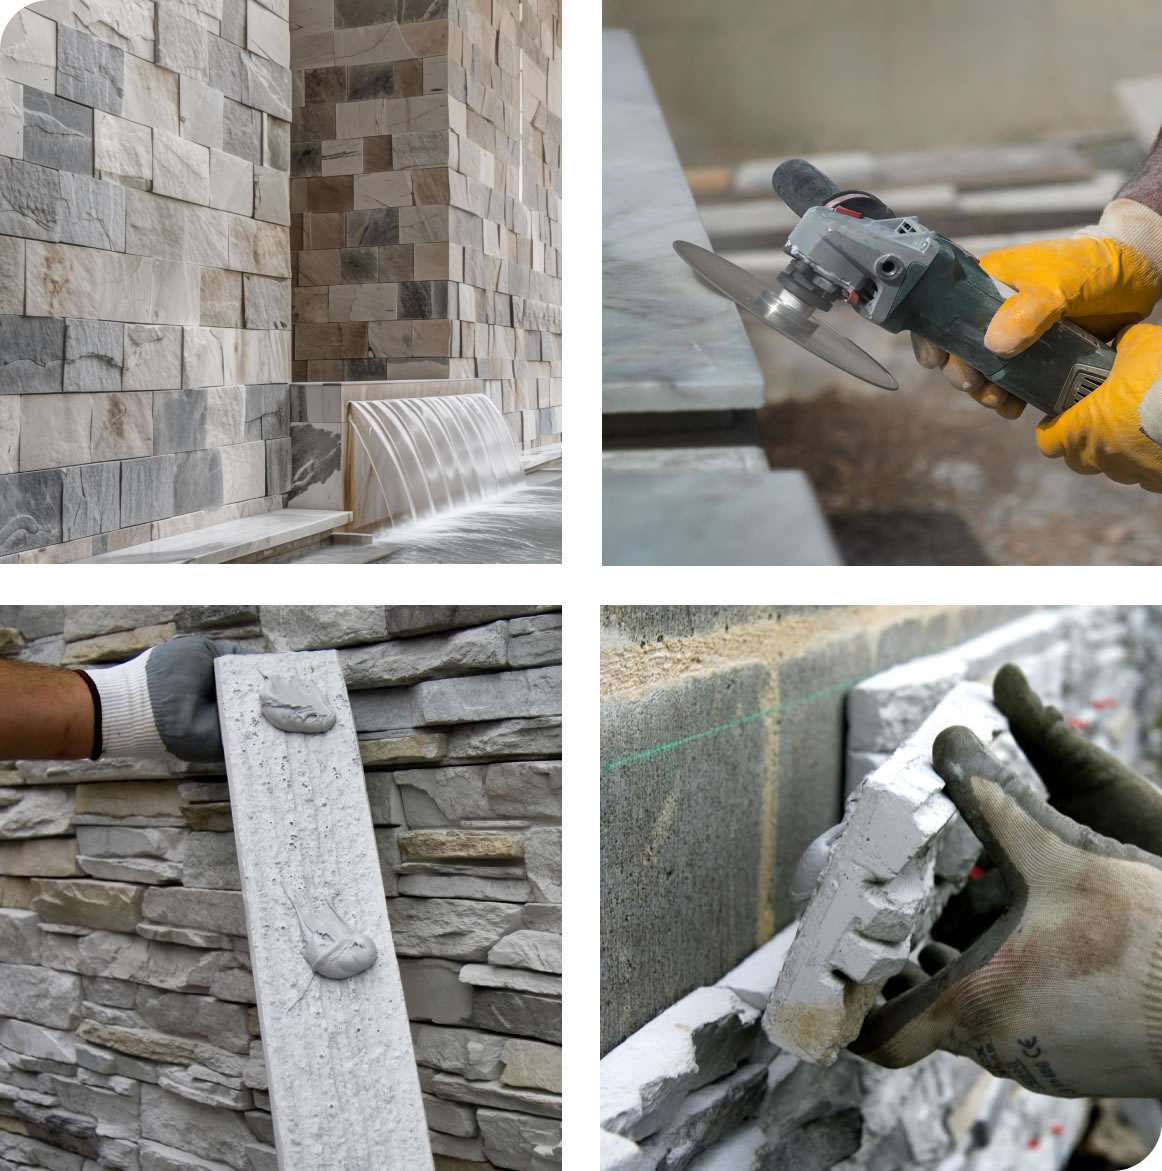
The secret behind this challenging stackstone façade?
It started well before the first stone touched the wall.
We recommended Megapoxy PM for this project – a non-slump fixing material ideal for bonding materials to out-of-plumb walls. We then advised the client on the steps for application.
Bonding Methods
From heavy panels to fine detailing, natural stone demands strength and precision. Megapoxy delivers clean handling and rock-solid results, every time.
Spot Fixing
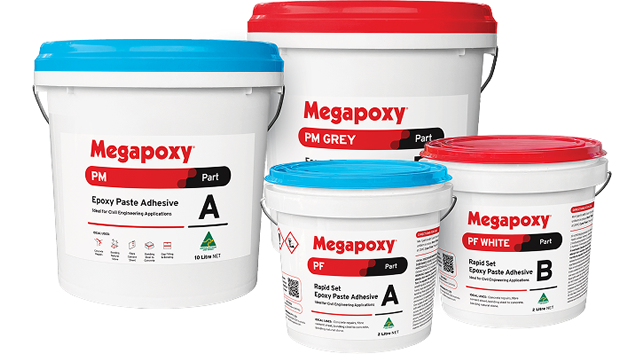
Megapoxy PM & PF
- Perfect for vertical stone cladding and façades.
- Powerful hold with just 10% surface coverage – when applied correctly to each tile.
- Works on uneven or out-of-plumb walls.
- PF sets in 3–5 minutes for fast installation.
Full Bed Bonding
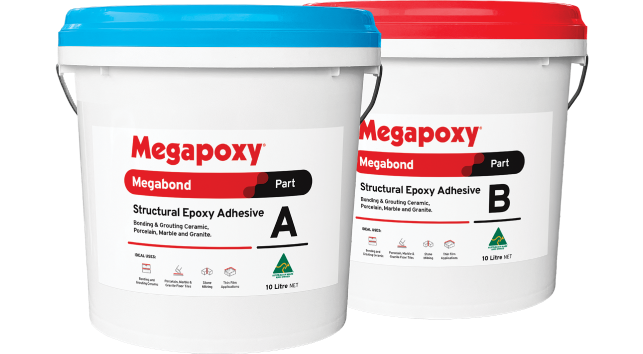
Megapoxy Megabond
- Trowel-applied for full coverage.
- High-strength bond to masonry, tile and stone.
- Non-staining formula.
- Easily coloured with Megapoxy pigments.
Fine Detailing & Architectural
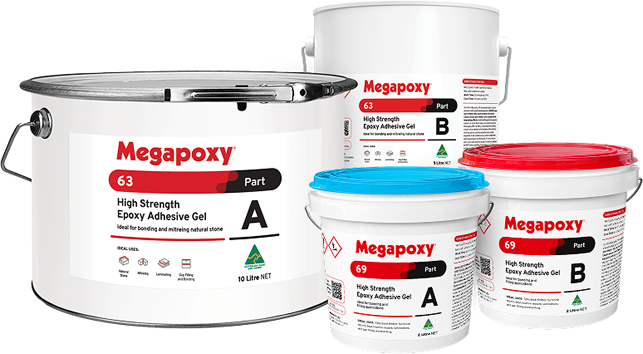
Megapoxy 63 & 69
- Ideal for benchtops, mitering and intricate stonework.
- Thin glue lines for precision and clean visual finish.
- Strong bond with impact and weather resistance.
- Easy to colour-match.
Benchtop brilliance
For a world-renowned client, our bonding solution delivered the precision, crystal-clear finish and uncompromising strength their marble masterpiece demanded.
We recommend Megapoxy 63 – thin glue line, translucent, and exceptional resistance to yellowing.
Fixing to Waterproofed Surfaces
For years, bonding stone to waterproofed walls meant workarounds. Megapoxy solves it with a compatible membrane and adhesive system, with no mechanical fixings needed.
A Smart Solution
Use where standard adhesives risk failure or compromise waterproofing.
- External facades and cladding.
- Sealed blockwork, concrete or fibre cement sheet walls.
- Exposed vertical surfaces in coastal or weather-prone environments.
How it Works
Designed for porous vertical surfaces like concrete block, precast and fibre cement sheet.
1: Prepare the surface
- Clean and dry substrate.
- Pre-seal joints with Megapoxy H and glass matting.
2: Apply the waterproof membrane
- One coat of Megapoxy H as a primer.
- Two coats as a waterproof sealer.
- Maintain 6–12 hour bond window between coats.
- If delayed, broadcast epoxy-grade sand (1–1.5mm) to maintain bond strength.
3: Fix the stone
- Use Megapoxy PM or PF to spot-fix stone directly to the sealed surface,
- Apply adhesive to each tile or panel with at least 10% surface coverage.
Reinforcing Marble with Epoxy Lamination
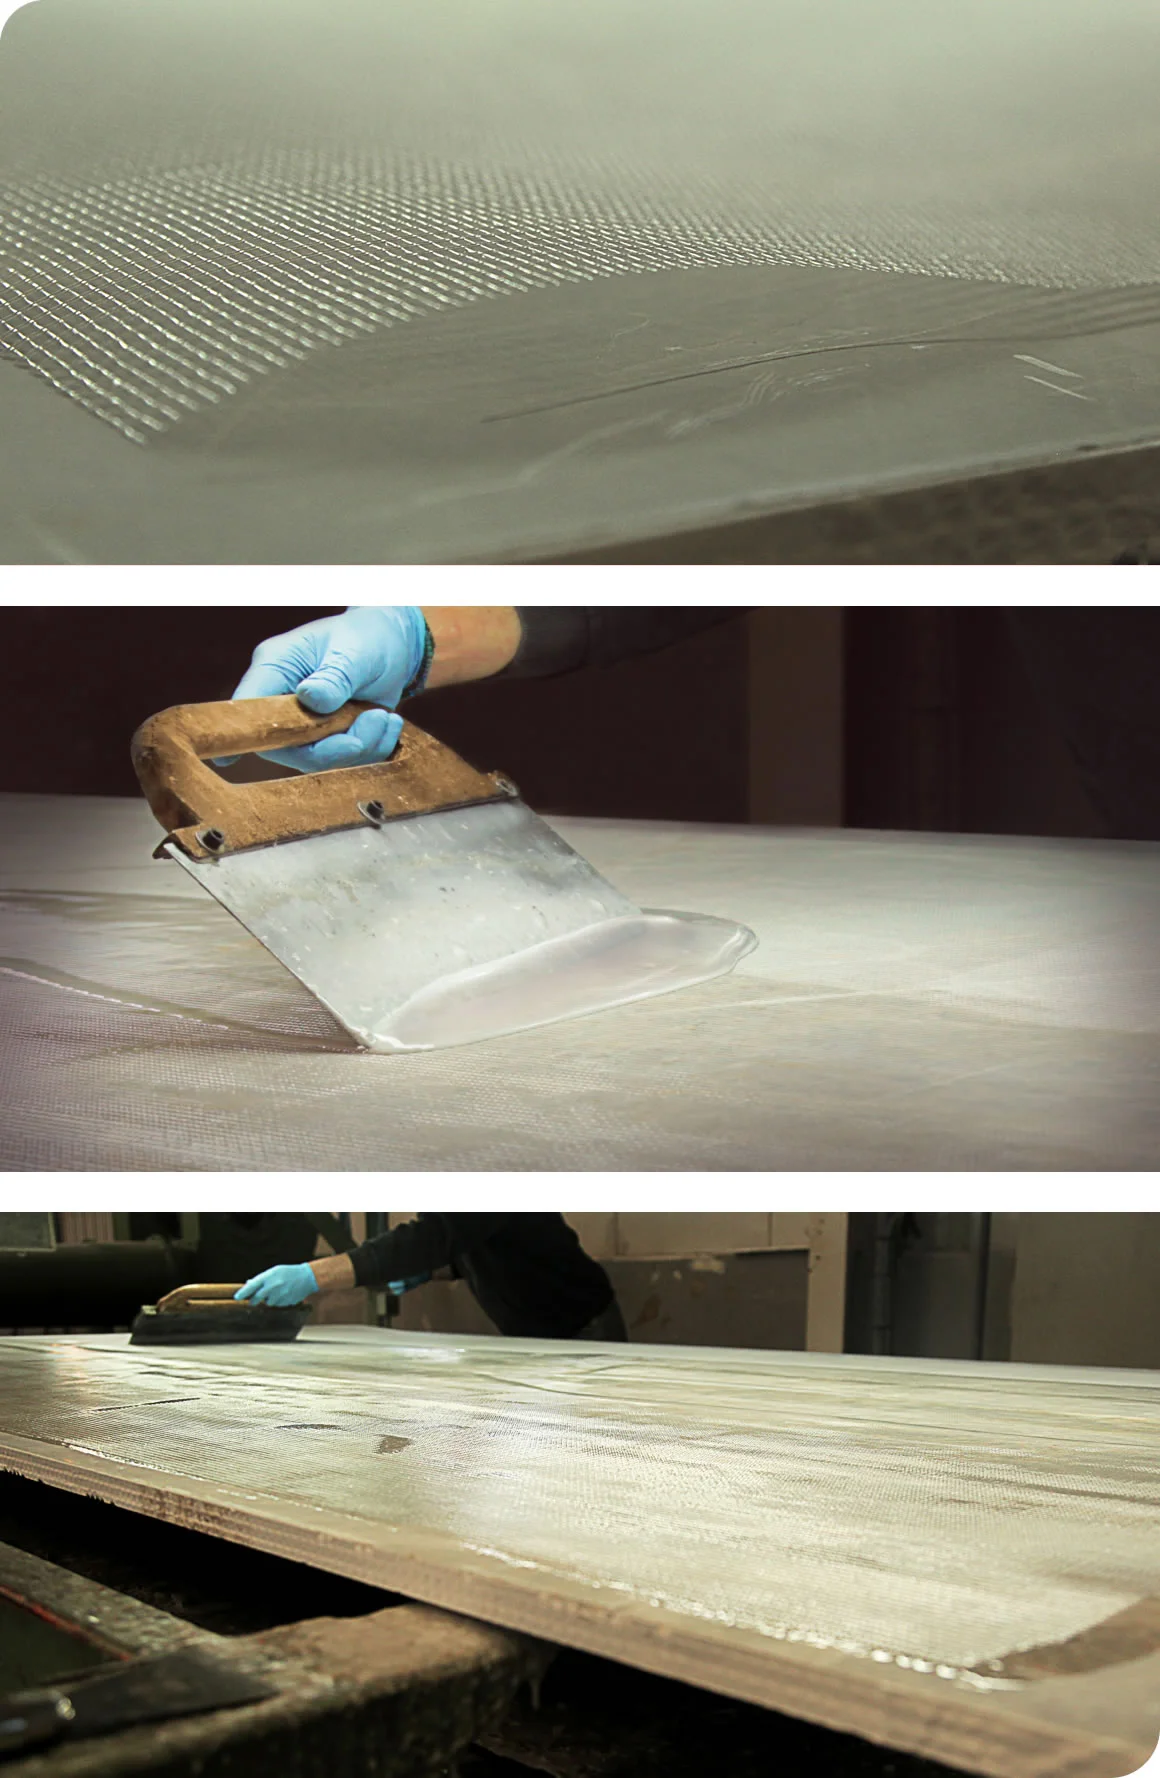
Fibreglass mesh bonded with epoxy resin is a trusted method to reinforce natural stone slabs. It’s especially effective for thin, brittle or exotic stone and is often used for countertop fabrication, wall cladding and similar applications.
You’ll need
- Low viscosity epoxy (eg Megapoxy H or HX).
- Fibreglass mesh (alkali-resistant, 80–160 g/m²).
- Acetone or alcohol for cleaning.
- Trowel, roller or spatula.
- Gloves and mixing tools.
How it Works
1: Prepare the surface
- Clean the back of the marble slab with a solvent and lightly sand to improve adhesion.
2: Mix the epoxy
- Mix resin and hardener in the correct ratio, stirring thoroughly for at least 2–3 minutes.
3: Apply epoxy
- Pour or brush a thin, even layer over the back of the slab.
- Spread using a notched trowel or roller.
4: Lay mesh
- Place fibreglass mesh gently over wet epoxy. Press down with a roller or gloved hands to eliminate air pockets.
- Optionally, apply a second epoxy layer over the mesh for added strength.
5: Cure and finish
- Leave to cure undisturbed for 12–24 hours, depending on conditions.
- Trim excess mesh and check for any voids.
- Once fully cured, the slab can be cut, polished or installed.
Marble and Granite Fabrication
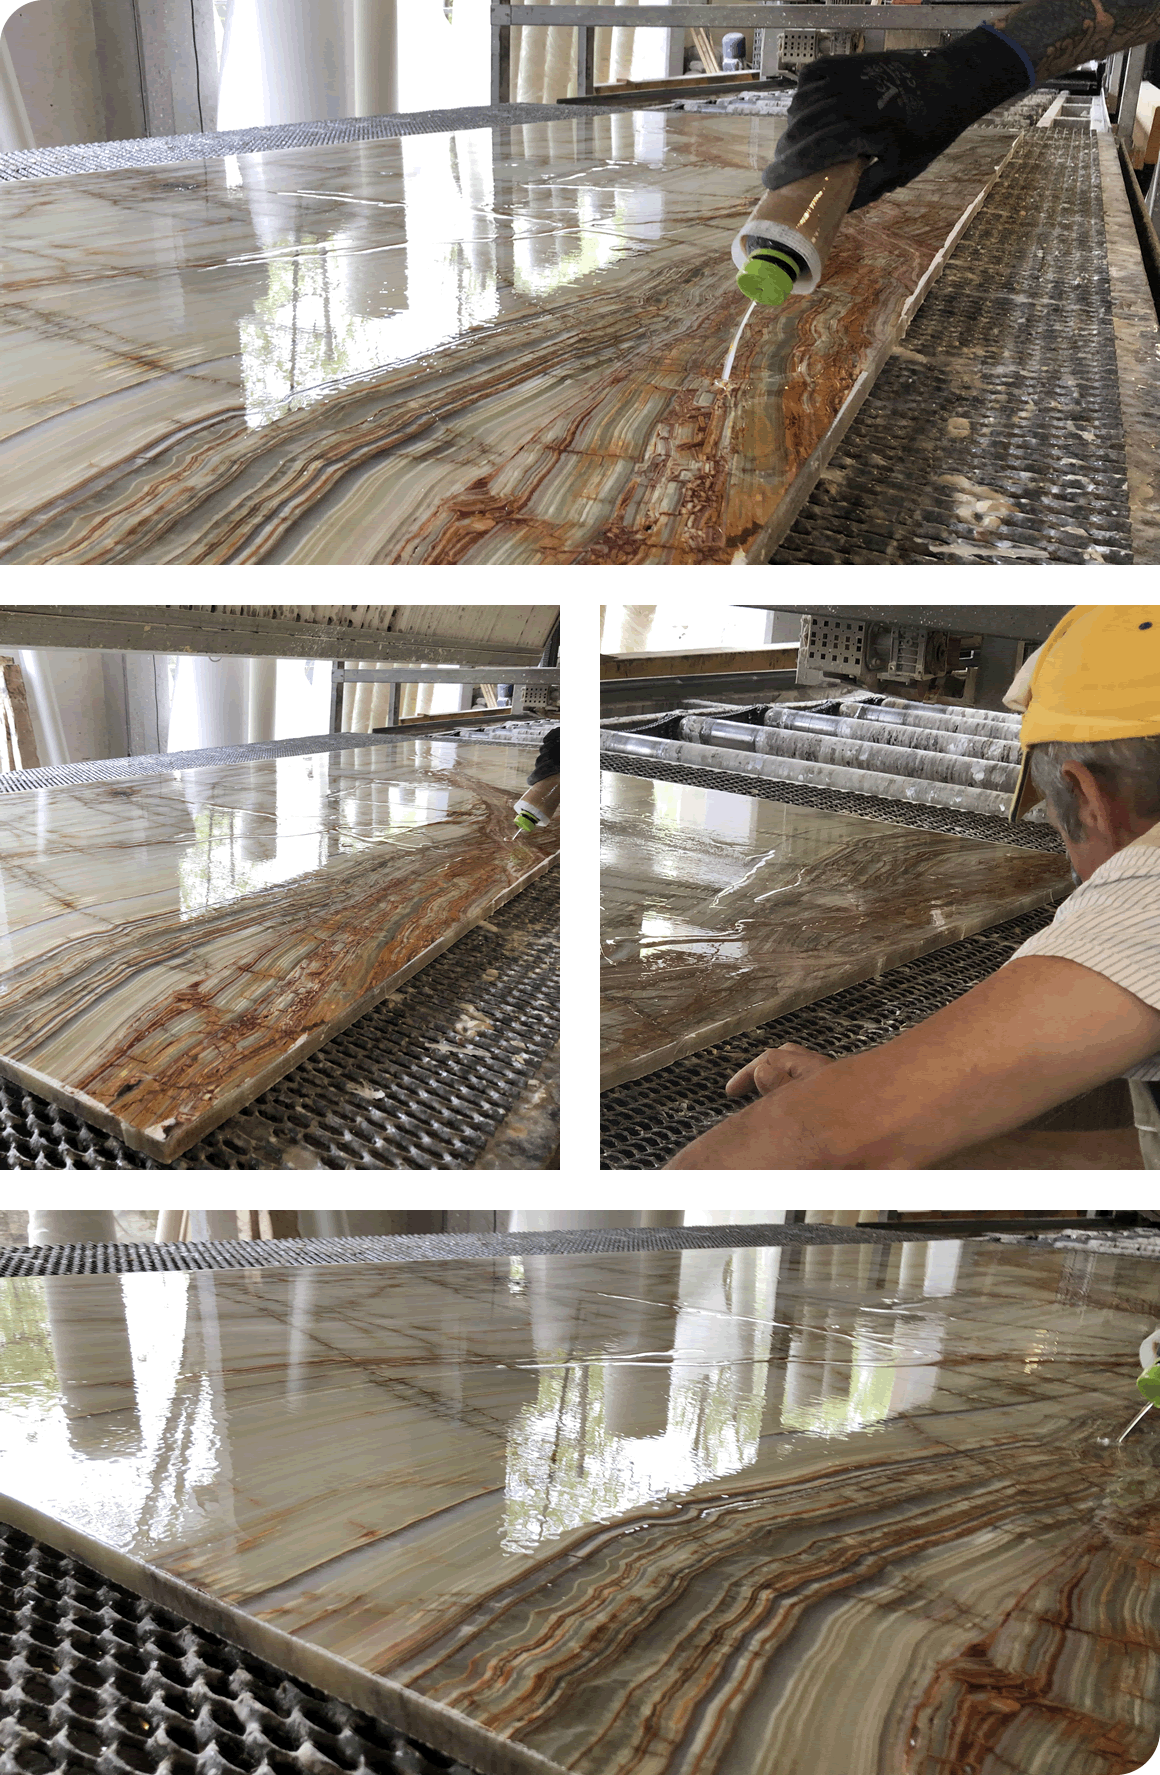
From structural repairs to visual appeal, epoxy resin plays a vital role in stone fabrication. It strengthens slabs, repairs flaws, reduces porosity and prepares surfaces for polishing and installation.
Why use epoxy?
- Strengthens brittle stone and fills micro-cracks.
- Repairs chips, cracks and imperfections.
- Seals porous surfaces.
- Enhances colour and gloss.
- Bonds edges and laminations.
Best-fit products
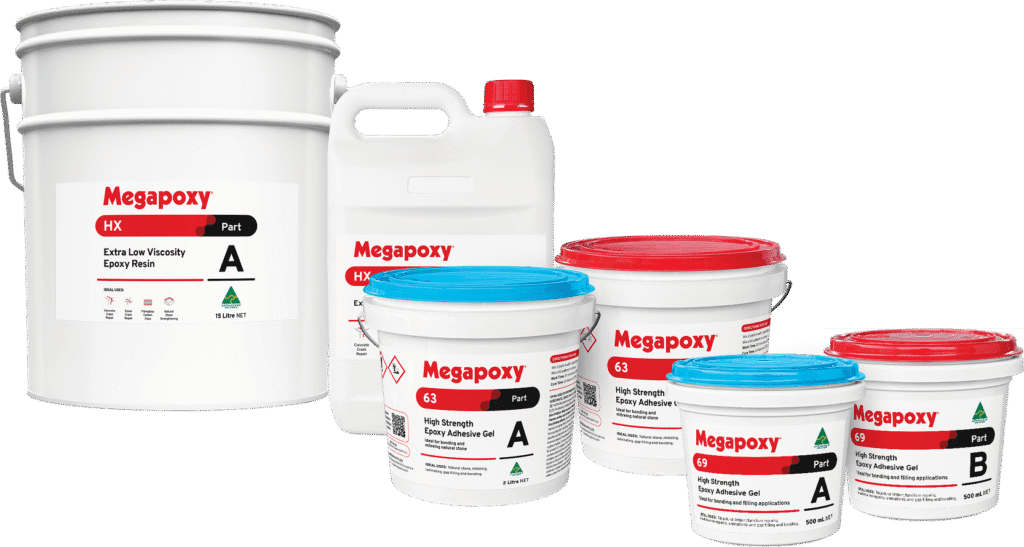
- Megapoxy HX: Clear and deeply penetrating.
- Megapoxy 63 or 69: Easily tinted for seamless repairs.
Typical Applications

Kitchen Countertops
Wall Cladding

Flooring Inlays

Memorials and Monuments
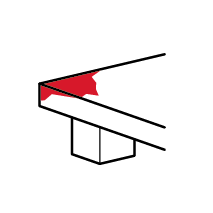
Custom Furniture Tops
Using epoxy in fabrication
1: Prepare the surface
- Clean the slab and any cracks or chips using a diamond blade or grinder.
2: Mix and apply epoxy
- Mix according to the product data sheet.
- Apply with a brush, roller or squeegee: for cracks, inject or trowel into place; for slab reinforcement, coat the back surface evenly.
- Optional: Apply fibreglass mesh while epoxy is still wet.
3: Cure and finish
- Leave to cure undisturbed for around 24 hours at 25°C. Heat lamps may be used if compatible.
- Grind to level epoxy with stone surface and polish to the desired finish.
Natural Stone FAQs: Structural bonding, preparation & fabrication
What’s the best adhesive for stone cladding, marble and granite?
Megapoxy specialises in structural epoxy adhesives for exactly this application, engineered for the demands of modern stone cladding — heavier panels, taller buildings and stricter performance standards than cement-based mortar was ever designed to meet. For vertical cladding and façades, Megapoxy PM and PF deliver a powerful hold with as little as 10% surface coverage per tile when applied correctly and work reliably on uneven or out-of-plumb walls. PF sets in just 3–5 minutes where a fast turnaround matters. Where full-coverage bonding is the better fit, Megapoxy Megabond trowels on for a high-strength bond to masonry, tile and stone, in a non-staining formula that’s easily coloured with Megapoxy pigments. Across the range, these adhesives flex to absorb thermal expansion, wind loading and seismic movement, and won’t stain, burn or dehydrate delicate marble when mixed correctly. You can compare product specifications in the Right Products for the Job section of our Natural Stone Products Guide.
What is structural epoxy adhesive, and how is it different from standard tile adhesive or mortar?
Epoxy adhesive is a different tier of product. Megapoxy’s structural epoxy adhesives are two-part, 100% solids systems engineered to carry real structural load rather than simply hold a surface tile in place. Our products are manufactured under ISO 9001:2018 quality management and rated for compressive strengths up to 70MPa. Megapoxy PM, PF and 69 exceed international bond-strength standards, support heavy natural stone panels on vertical and overhead surfaces, absorb seismic and thermal movement, and in independent pull-out testing outperform the substrate itself. This is a level of performance standard cement-based tile adhesives and mortars aren’t built to deliver.
How strong is an epoxy bond compared to the stone or wall material itself?
Our epoxy is often stronger than the materials it’s fixing. Megapoxy adhesives are backed by independent pull-out testing that consistently shows the substrate failing before the bond does; a 10mm stainless steel anchor embedded 50mm into 40MPa concrete required 50kN of force to remove, with the concrete cracking first, and a 3mm stainless steel pin embedded just 3mm into granite required 7kN, with the granite failing before the adhesive gave way. It’s this level of performance that lets Megapoxy secure very heavy stone panels in demanding installations, including high-rise cladding.
Do you need mechanical fixings (pins/anchors) as well as adhesive?
It depends on the substrate, and Megapoxy is engineered to work either way. On sound, structurally strong walls, adhesive alone is often sufficient. But for weaker wall materials such as old or weathered stone, multi-cavity bricks, pre-cast hollow concrete blocks, pins or anchors used together with epoxy adhesive become essential, distributing the panel’s weight into the interior of the wall rather than leaving it all on the surface. Once drilled, holes should always be blown clear with compressed air before applying epoxy, so the fixing bonds properly rather than to residual dust. This matters most in high-rise installations, and the decision should always be made by the installer in consultation with an engineer. Wherever mechanical fixings are used, they should be engineered to support the full panel weight independently, as a backup should the substrate ever fail.
What does concrete surface preparation involve before bonding stone?
Getting this right matters more than most installers expect, and Megapoxy’s guidance covers the full process. The substrate needs to be structurally sound, clean and dry, with any previous coatings, adhesives, efflorescence or laitance removed — by chipping, abrasive blast cleaning, high-pressure water washing, mechanical scrubbing, or whichever method suits the surface — until it’s free of dirt, grease and oil. At the specific bonding spots, a light scabble exposes a strong substrate underneath. Marble and granite panel surfaces need the same attention: clean, dry, and lightly abraded at the bonding areas using an angle grinder. Full guidance is available in the Surface Preparation section of our Natural Stone Products Guide.
What is acid etching concrete, and what’s the correct acid-to-water ratio?
Acid etching is a chemical method for roughening a concrete surface and removing laitance, used when mechanical abrasion like scabbling, grit blasting, and grinding aren’t practical on site. The ratio is straightforward: concentrated hydrochloric acid mixed with an equal volume of water, 1:1, spread at 0.5 litres per square metre. Allow around 10 minutes for the reaction, then wash the area thoroughly and scrub with a stiff-bristled broom to clear loose sand. The surface then needs 24 hours to dry before bonding, to get the maximum adhesion Megapoxy adhesives are engineered to deliver.
Is there an alternative to acid etching concrete for surface preparation?
Yes, mechanical abrasion is generally the preferred option, with acid etching serving as the fallback for when it isn’t practical on site. Scabbling, grit blasting and grinding all achieve the same essential result, stripping surface laitance and creating a bonding profile suited to Megapoxy adhesives, without introducing acid to the job at all.
How do you stabilise fragile or porous stone before bonding?
Megapoxy H and HX are built for exactly this step. Porous or fragile stone — the kind prone to fine cracks or excessive absorption — gets sealed first with Megapoxy H or HX, a clear, deeply penetrating resin that fills hairline cracks and stabilises the surface. That gives the stone the structural integrity it needs to handle bonding, cutting and polishing without further damage, and it’s a standard step wherever thin, brittle or exotic stone is involved — pairing naturally with the fibreglass mesh lamination technique used for slab reinforcement.
Can you fix natural stone directly onto a waterproofing membrane?
Yes, and without mechanical fixings at all, which is what sets Megapoxy’s system apart. Bonding stone to waterproofed walls has traditionally meant compromise: standard adhesives risk failing on a waterproofed surface, or the fixing method ends up compromising the waterproofing itself. Megapoxy solves this with a compatible membrane-and-adhesive system built for porous vertical surfaces like concrete block, precast concrete and fibre cement sheet suited to external facades and cladding, sealed blockwork or concrete walls, and exposed vertical surfaces in coastal or weather-prone environments. The process starts with pre-sealing joints using Megapoxy H and glass matting, followed by one coat of Megapoxy H as a primer and two coats as a waterproof sealer, maintaining a 6–12 hour bond window between coats (or broadcasting epoxy-grade sand if a coat is delayed). Once the membrane’s cured, Megapoxy PM or PF spot-fixes the stone directly to the sealed surface, with at least 10% surface coverage per tile or panel. You can read the full process in the Fixing to Waterproofed Surfaces section of our Natural Stone Products Guide.
Why do thin or brittle marble slabs need fibreglass mesh reinforcement?
Megapoxy addresses this at the source. Thin, brittle or exotic marble is prone to cracking during handling, transport and installation, often before it ever reaches a job site. Reinforcing the back of the slab with epoxy resin and fibreglass mesh gives the stone genuine durability and stability well ahead of fabrication, transport or installation — reducing the costly breakages that would otherwise occur along the way and making otherwise fragile stock viable to work with.
How is epoxy resin used to repair cracks and chips during marble fabrication?
Absolutely, and this is one of the more valuable applications of epoxy in a fabrication workshop. The process starts with opening the crack slightly using a diamond blade or grinder, giving the resin something to key into rather than sitting on the surface. Megapoxy resin is then injected or trowelled directly into the damaged area — or, for broader slab reinforcement rather than a single crack, coated evenly across the whole surface instead. Once cured (typically 24 hours at 25°C), the repaired area is ground back level with the surrounding stone and polished to match.
What’s the process for a mitred edge stone benchtop?
It comes down to the glue line, and Megapoxy 63 is engineered specifically for this level of precision. As a high-strength gel adhesive, it joins stone sections with a bond thin enough to keep the seam nearly invisible — exactly what a mitred edge is after — without sacrificing durability. The bond holds up to impact and weather, and won’t stain light-coloured marble in the process.
How is epoxy resin used in marble and granite fabrication generally?
Extensively, and across more of the process than most people expect. Megapoxy epoxy resin strengthens slabs by filling micro-cracks, repairs chips and surface imperfections, deepens colour and gloss, and reduces porosity and water absorption — on top of handling the structural bonding in lamination work such as mitred edges and countertop build-ups. Megapoxy HX, clear and deeply penetrating, is best suited to sealing and fine-crack work, while Megapoxy 63 and 69 are easily tinted for seamless, colour-matched repairs and bonding. That range is what makes epoxy resin a fixture across kitchen countertops, wall cladding, flooring inlays, memorials and custom furniture tops alike.
How do you remove cured or uncured epoxy adhesive?
It depends entirely on whether the adhesive has had time to cure. While uncured, Megapoxy adhesive is straightforward to manage — clean it up with an absorbent material like paper towels or rags, then lift any residue with proper thinners or warm soapy water. Once cured, that window closes: the adhesive won’t dissolve or wipe away, and mechanical removal is the only option, using an angle grinder, sander or polisher to work it back to a smooth finish.
What service temperature range can cured structural epoxy adhesive withstand?
A remarkably wide one, engineered specifically for demanding commercial environments. Once cured, Megapoxy adhesive becomes a stone-like, chemically inert solid that holds its strength and elasticity from over 90°C down to as low as −30°C, without softening in the heat or turning brittle in the cold. Even short-term stresses of 20MPa and above don’t cause creep or weaken the assembly — and this isn’t just a lab result, it’s been demonstrated in cyclone-prone regions including Hong Kong and North Queensland.