Timeless Solutions
Natural stone demands solutions that combine lasting strength with architectural beauty. From sandstone facades to marble benchtops, Megapoxy delivers confidence with every bond.
Surface Preparation for Bonding
Success starts at the surface. Ensure substrates are dry, clean and structurally sound to set the foundation for long-term performance.
You’ll need
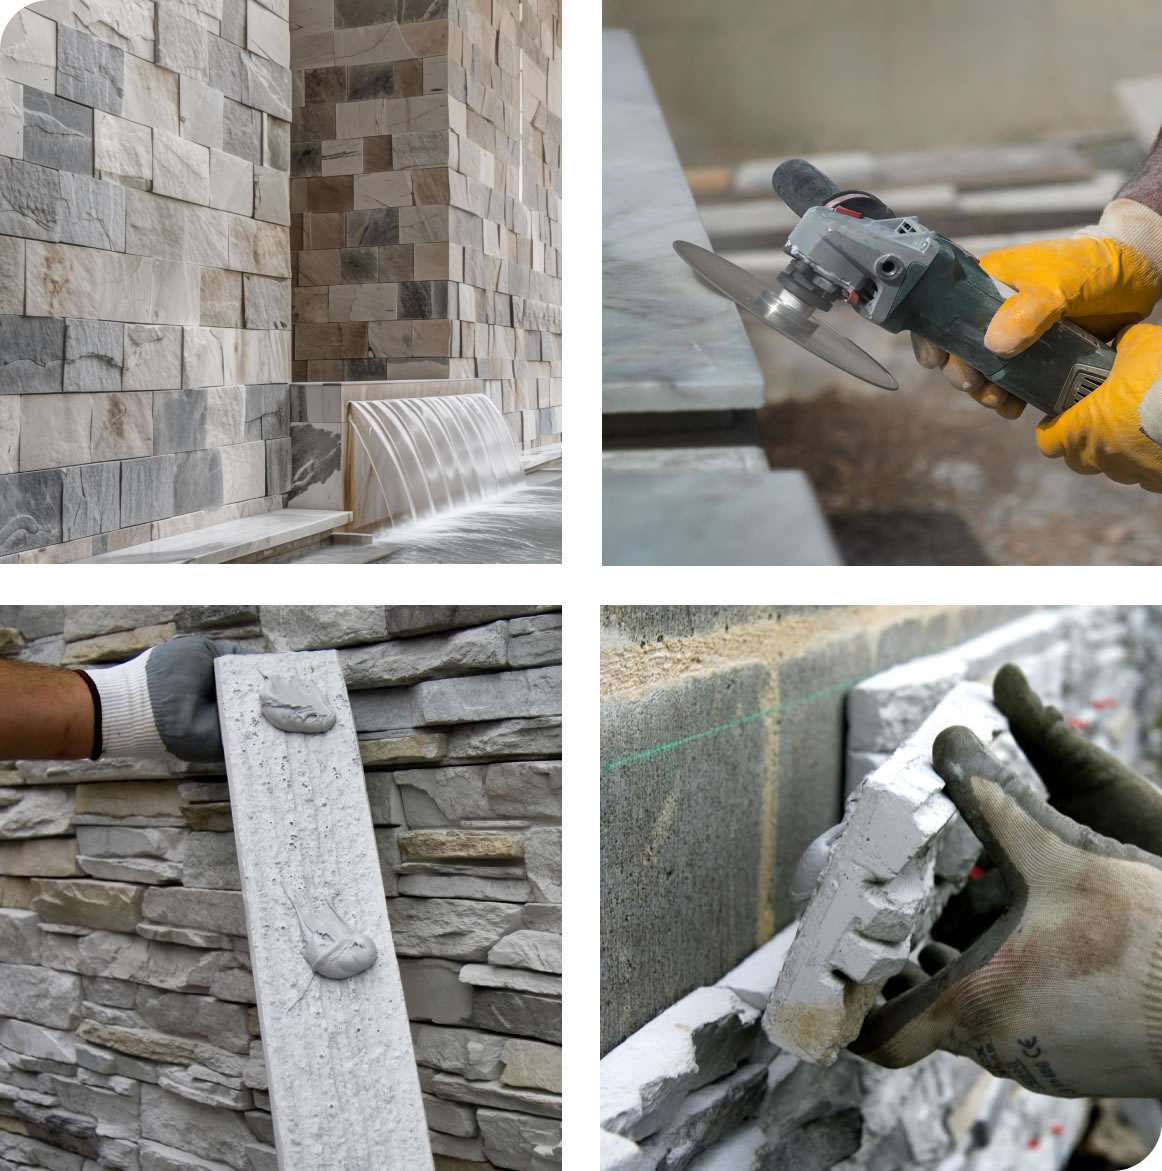
- Grinder with diamond wheel or crack chasing blade.
- Mixing paddle.
- Flat, hard board.
- Spatulas or scrapers.
- Megapoxy thinners.
- Disposable rags.
- PPE: gloves, eyewear, clothing.

Getting it right from the start
The secret behind this challenging stackstone façade?
It started well before the first stone touched the wall.
We recommended Megapoxy PM for this project – a non-slump fixing material ideal for bonding materials to out-of-plumb walls. We then advised the client on the steps for application.
Bonding Methods
From heavy panels to fine detailing, natural stone demands strength and precision. Megapoxy delivers clean handling and rock-solid results, every time.
Spot Fixing
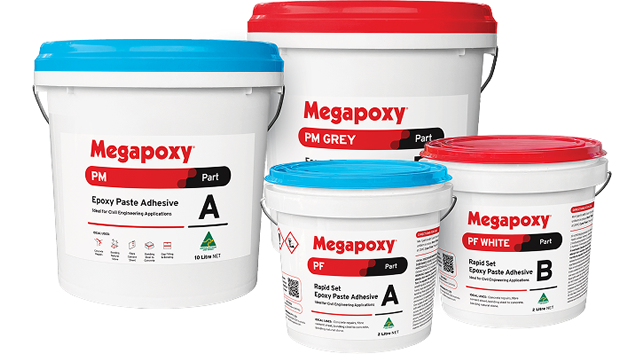
Megapoxy PM & PF
- Perfect for vertical stone cladding and façades.
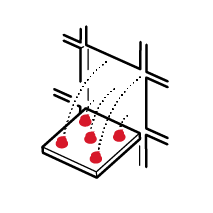
- Powerful hold with just 10% surface coverage – when applied correctly to each tile.
- Works on uneven or out-of-plumb walls.
- PF sets in 3–5 minutes for fast installation.
Full Bed Bonding
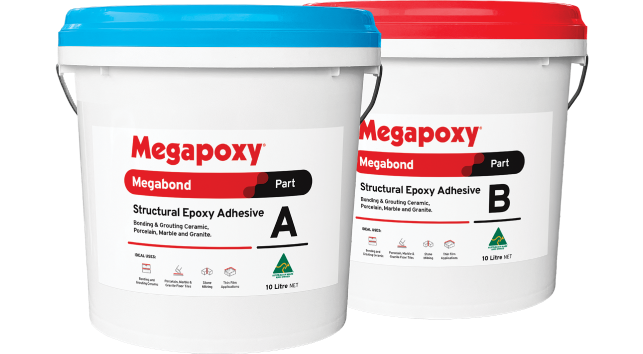
Megapoxy Megabond
- Trowel-applied for full coverage.
- High-strength bond to masonry, tile and stone.
- Non-staining formula.
- Easily coloured with Megapoxy pigments.
Fine Detailing & Architectural
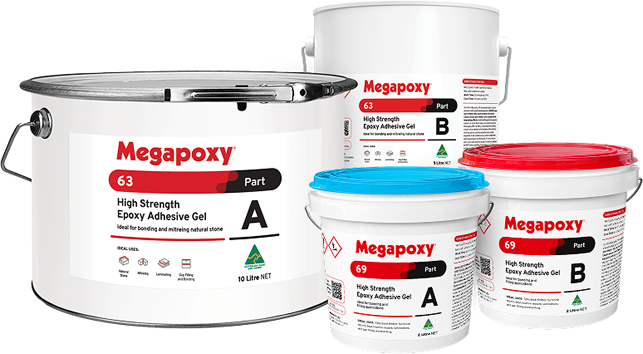
Megapoxy 63 & 69
- Ideal for benchtops, mitering and intricate stonework.
- Thin glue lines for precision and clean visual finish.
- Strong bond with impact and weather resistance.
- Easy to colour-match.
Benchtop brilliance
For a world-renowned client, our bonding solution delivered the precision, crystal-clear finish and uncompromising strength their marble masterpiece demanded.
We recommend Megapoxy 63 – thin glue line, translucent, and exceptional resistance to yellowing.
Fixing to Waterproofed Surfaces
For years, bonding stone to waterproofed walls meant workarounds. Megapoxy solves it with a compatible membrane and adhesive system, with no mechanical fixings needed.
A Smart Solution
Use where standard adhesives risk failure or compromise waterproofing.
- External facades and cladding.
- Sealed blockwork, concrete or fibre cement sheet walls.
- Exposed vertical surfaces in coastal or weather-prone environments.
How it Works
Designed for porous vertical surfaces like concrete block, precast and fibre cement sheet.
1: Prepare the surface
- Clean and dry substrate.
- Pre-seal joints with Megapoxy H and glass matting.
2: Apply the waterproof membrane
- One coat of Megapoxy H as a primer.
- Two coats as a waterproof sealer.
- Maintain 6–12 hour bond window between coats.
- If delayed, broadcast epoxy-grade sand (1–1.5mm) to maintain bond strength.
3: Fix the stone
- Use Megapoxy PM or PF to spot-fix stone directly to the sealed surface,
- Apply adhesive to each tile or panel with at least 10% surface coverage.
Reinforcing Marble with Epoxy Lamination
Fibreglass mesh bonded with epoxy resin is a trusted method to reinforce natural stone slabs. It’s especially effective for thin, brittle or exotic stone and is often used for countertop fabrication, wall cladding and similar applications.
You’ll need
- Low viscosity epoxy (eg Megapoxy H or HX).
- Fibreglass mesh (alkali-resistant, 80–160 g/m²).
- Acetone or alcohol for cleaning.
- Trowel, roller or spatula.
- Gloves and mixing tools.
How it Works
1: Prepare the surface
- Clean the back of the marble slab with a solvent and lightly sand to improve adhesion.
2: Mix the epoxy
- Mix resin and hardener in the correct ratio, stirring thoroughly for at least 2–3 minutes.
3: Apply epoxy
- Pour or brush a thin, even layer over the back of the slab.
- Spread using a notched trowel or roller.
4: Lay mesh
- Place fibreglass mesh gently over wet epoxy. Press down with a roller or gloved hands to eliminate air pockets.
- Optionally, apply a second epoxy layer over the mesh for added strength.
5: Cure and finish
- Leave to cure undisturbed for 12–24 hours, depending on conditions.
- Trim excess mesh and check for any voids.
- Once fully cured, the slab can be cut, polished or installed.

Marble and Granite Fabrication
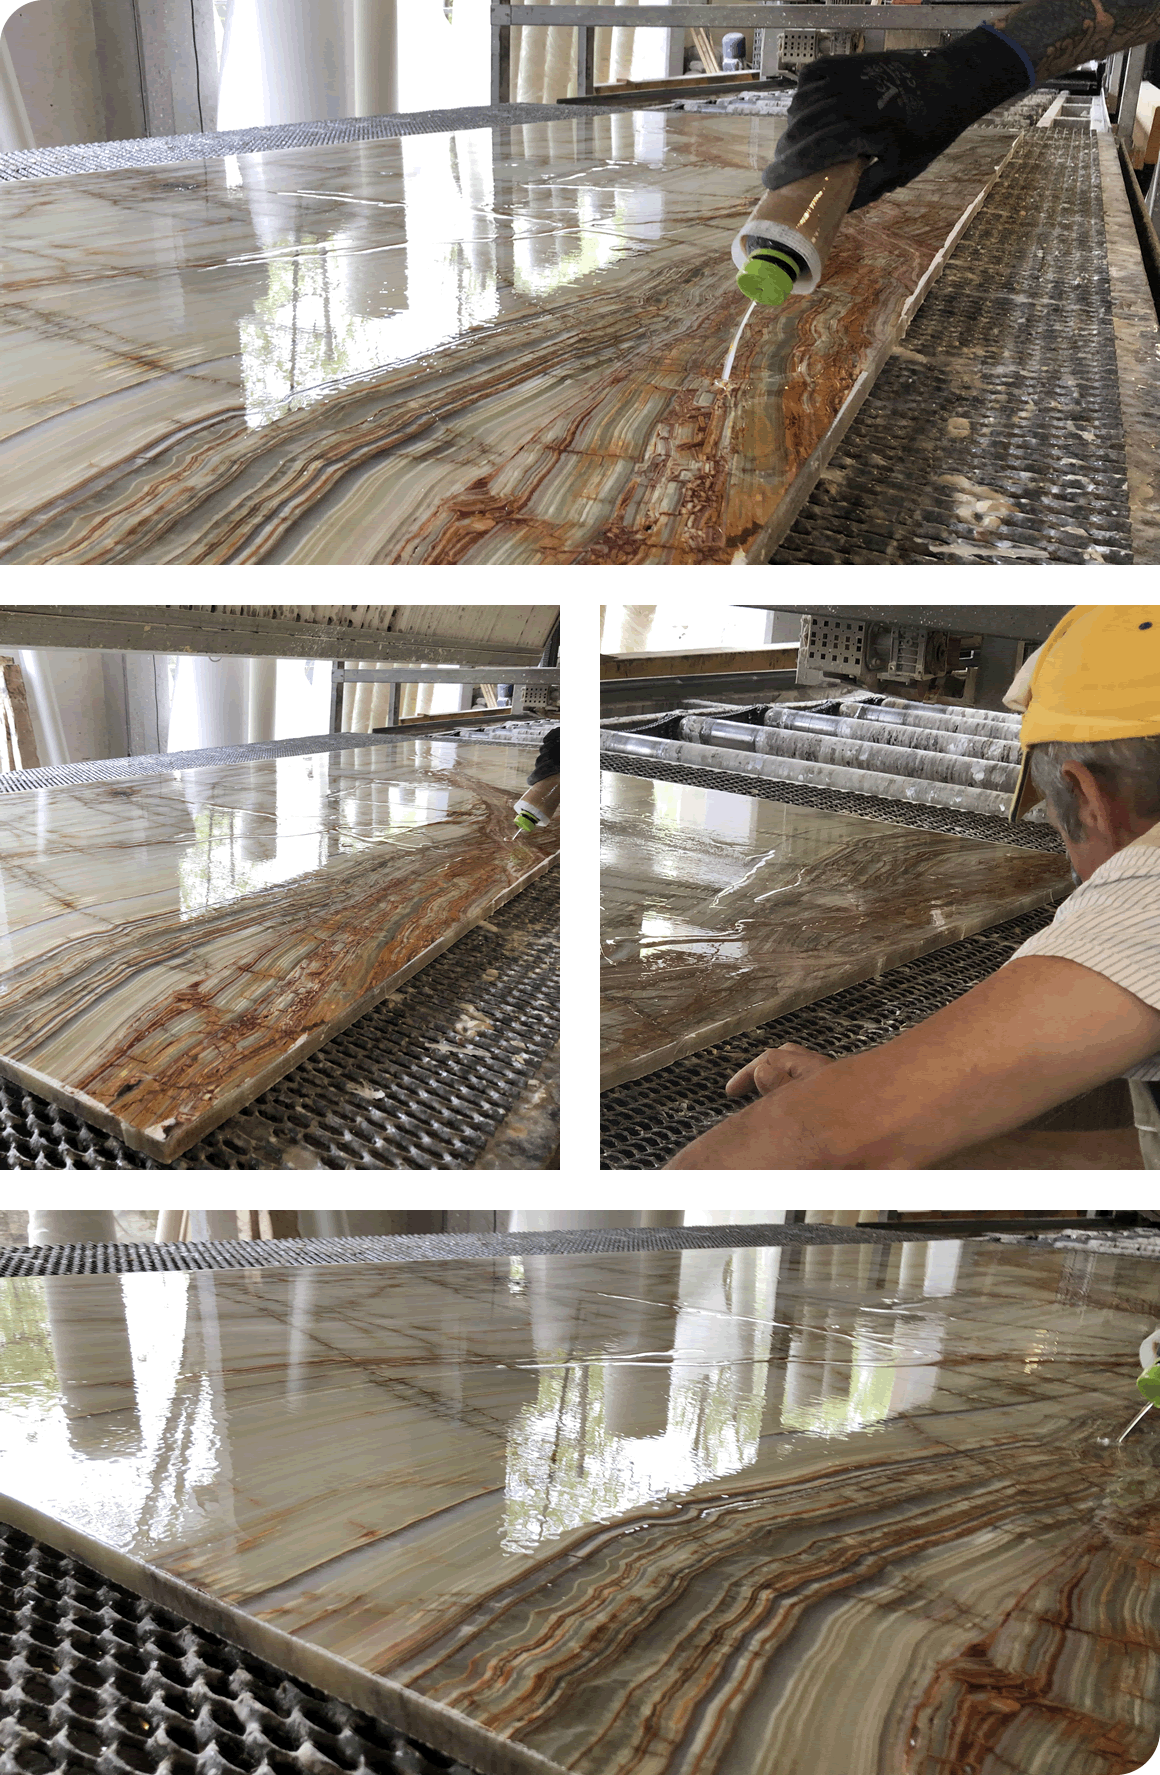
From structural repairs to visual appeal, epoxy resin plays a vital role in stone fabrication. It strengthens slabs, repairs flaws, reduces porosity and prepares surfaces for polishing and installation.
Why use epoxy?
- Strengthens brittle stone and fills micro-cracks.
- Repairs chips, cracks and imperfections.
- Seals porous surfaces.
- Enhances colour and gloss.
- Bonds edges and laminations.
Best-fit products
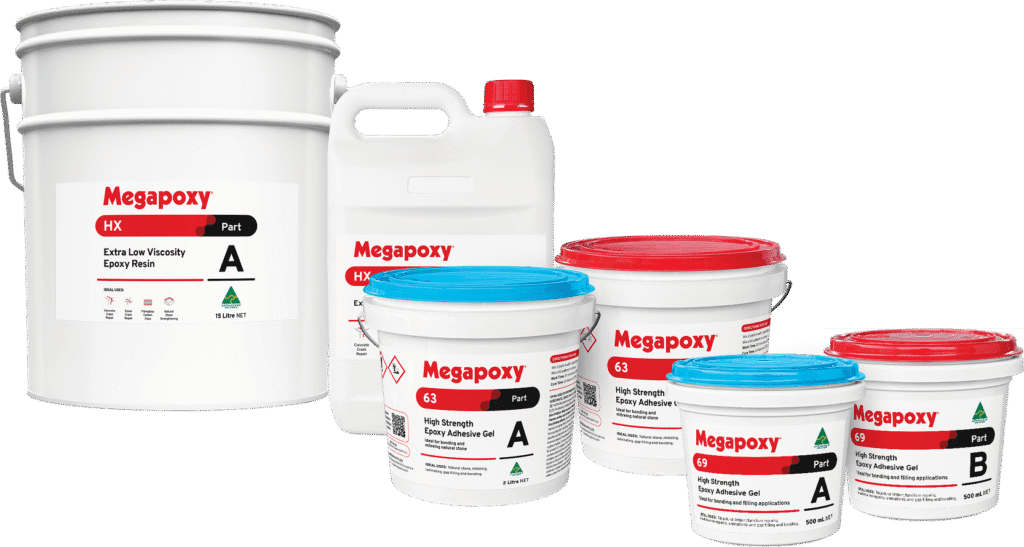
- Megapoxy HX: Clear and deeply penetrating.
- Megapoxy 63 or 69: Easily tinted for seamless repairs.
Typical Applications
Using epoxy in fabrication
1: Prepare the surface
- Clean the slab and any cracks or chips using a diamond blade or grinder.
2: Mix and apply epoxy
- Mix according to the product data sheet.
- Apply with a brush, roller or squeegee: for cracks, inject or trowel into place; for slab reinforcement, coat the back surface evenly.
- Optional: Apply fibreglass mesh while epoxy is still wet.
3: Cure and finish
- Leave to cure undisturbed for around 24 hours at 25°C. Heat lamps may be used if compatible.
- Grind to level epoxy with stone surface and polish to the desired finish.
