Crack Repair Injection System
The Megapoxy Crack Injection Repair System injects epoxy deep into concrete cracks, sealing and stabilising from within. It’s engineered for critical repairs where strength, reliability and structural integrity matter most.
What it includes
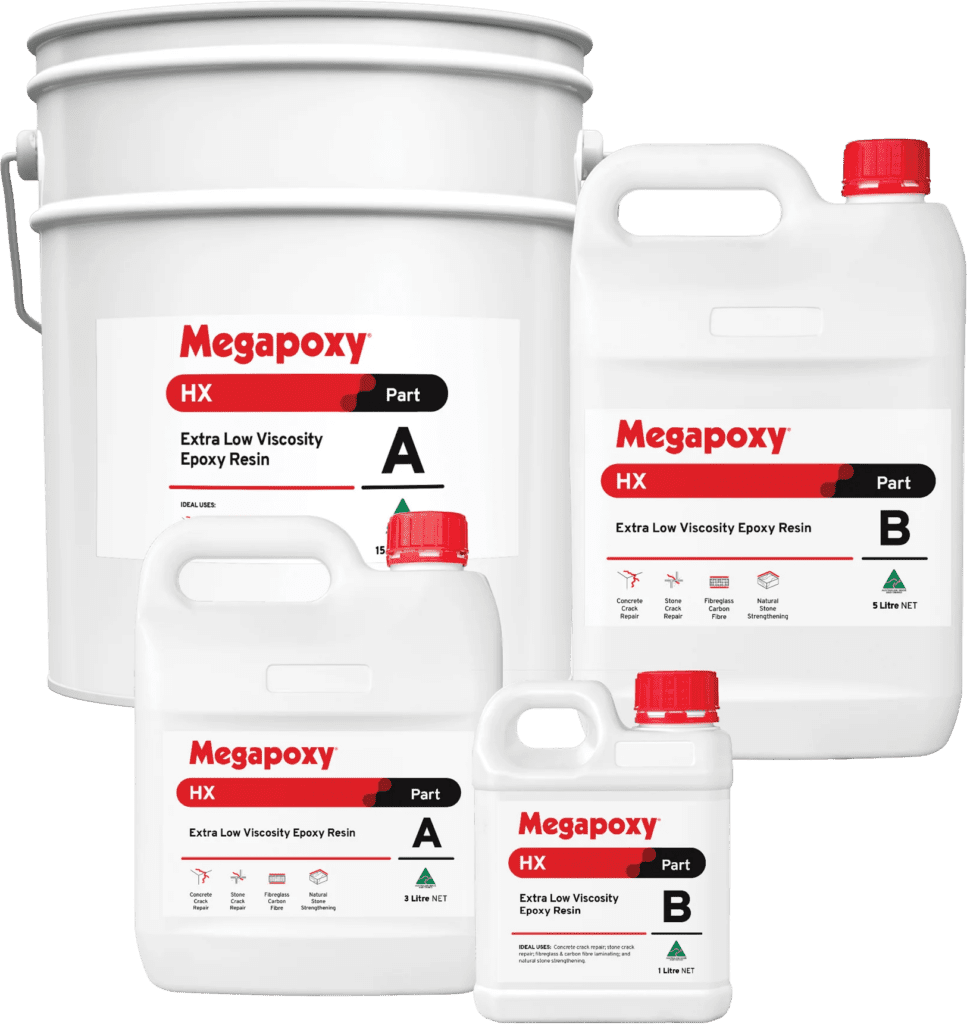
- Megapoxy H or HX: low-viscosity epoxy adhesives that penetrate cracks as narrow as 0.1mm.
- Injection balloons with air-release valves and connecting hoses.
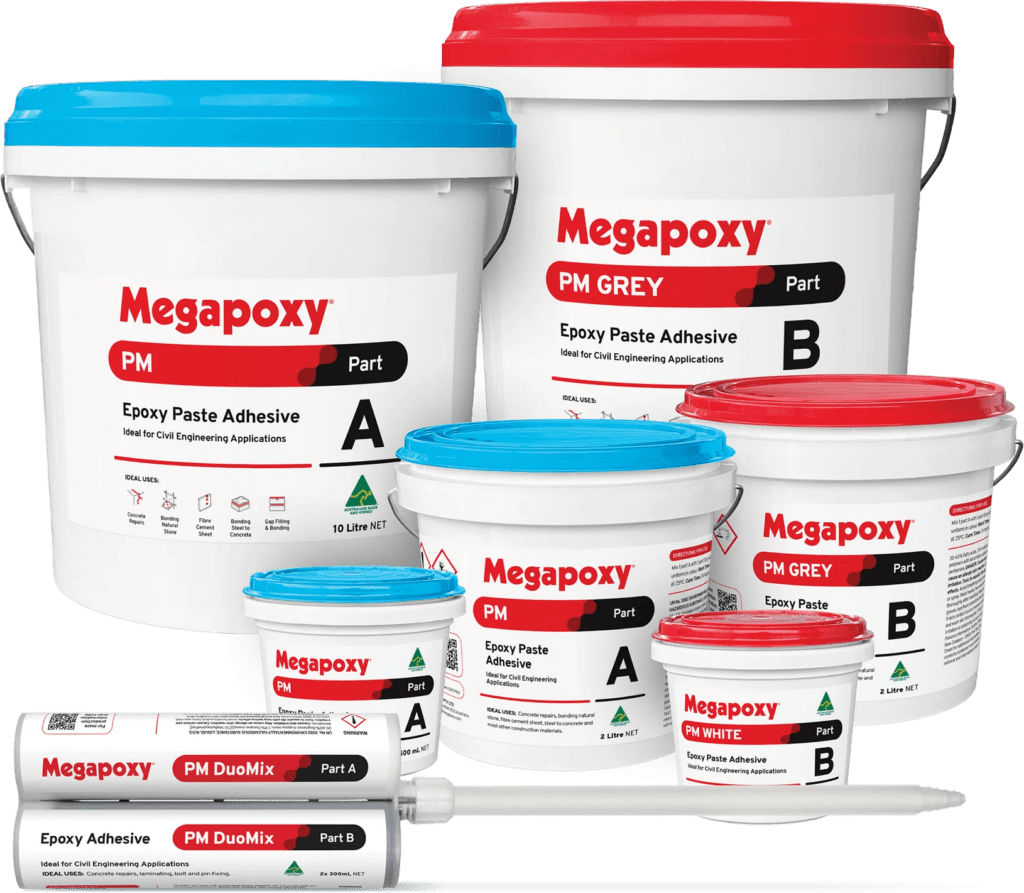
- Megapoxy PM, a high-strength, non-sag adhesive for bonding and sealing.
Before you Begin
Start with a clean, dry and sound surface.
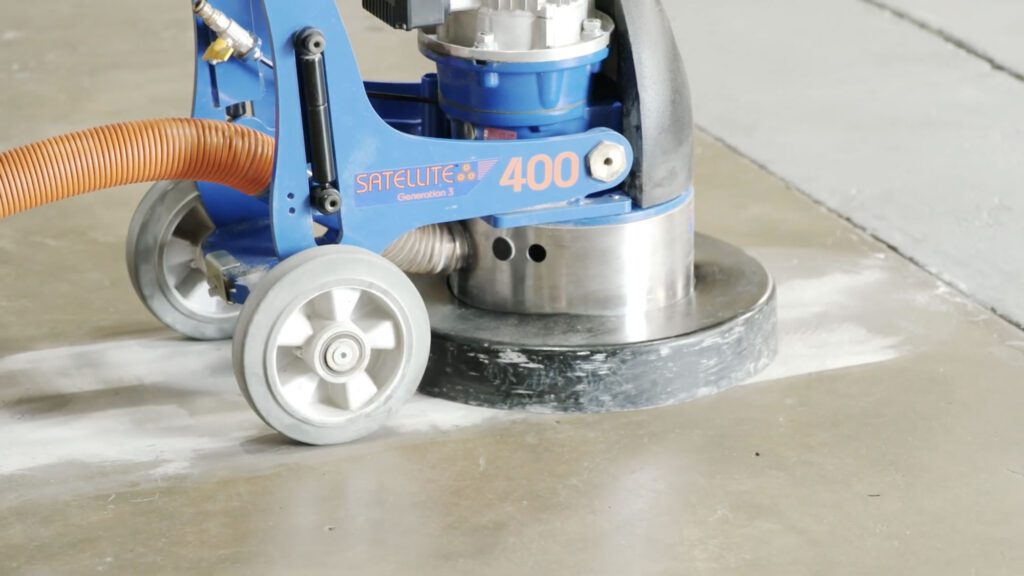
Remove old coatings, adhesives, efflorescence or laitance using chipping, abrasive blasting, high-pressure water or mechanical scrubbing. The goal is a clean, solid surface ready for bonding.
What you need
- Grinder with diamond grinding wheel + crack chasing blade.
- Efficient mixing paddle.
- Spatulas + flat hard mixing board.
- Modified grease gun + injection hose assembly.
- Set of injection balloons – to cover the crack repair area (spaced approx 200–300mm apart).
- PPE: suitable clothing, gloves and eyewear.
- Products: Megapoxy H or HX; Megapoxy PM.
Step 1: Mix Balloon Bonding Product
Mix Megapoxy PM (1:1 ratio, Part A:B). Use a folding motion to mix for at least 3 minutes, until smooth, streak-free and uniform in colour.
Step 2: Bond Injection Balloons
Apply PM to outer ring of each balloon base and position them along the crack at 200–300mm intervals. Leave taps open. Allow to cure before sealing.
Step 3: Seal the Crack
Mix more PM and seal around each balloon base, then over the full crack line. Allow to cure fully (typically 24 hours at 25°C), then open all balloon taps.
Step 4: Mix Injection Resin
Mix Megpoaxy H or HX (3:1 ratio, Part A:B) by volume. Ideally, hand-mix for 3 minutes, also scraping sides and base of container.
Step 5: Inject Epoxy
Fill the injection gun with mixed Megapoxy H or HX. Attach thumb-lock connector to first balloon and pump until it inflates (around 20mm). Close tap and repeat along crack. The crack is full when all balloons remain inflated.
Step 6: Remove Balloon Valves
Once cured, strike between the silver clamp and base with a chisel to cleanly remove balloons.
Step 7: Surface Finishing
Grind or scrape away cured PM and any residue. Smooth the surface as required. Clean tools with Megapoxy Thinners.